
What are Automations?
Automations let you define rules that monitor your traces in real time and trigger notifications when conditions are met. Instead of manually watching your dashboard, you can be alerted the moment something important happens — a failed transaction, an anomalous bridge event, or any pattern you care about. An automation consists of three parts:- Integrations — where notifications are sent (Slack, Webhook, or Email)
- Rules — conditions that determine when to fire, written as visual conditions or CEL expressions
- Activity — a live feed of every rule match, so you can see what fired and why
How It Works
1
Add an Integration
Connect a notification channel — a Slack workspace, a webhook URL, or a list of email recipients. Integrations are shared across all projects in your organization.
2
Create a Rule
Define conditions that match against your trace data. Use the visual condition builder for common cases, or write a CEL expression for full flexibility. Link one or more integrations to the rule.
3
Get Notified
When a trace matches your rule, Mirador sends a notification to every linked integration. You can also monitor matches in real time from the Activity tab.
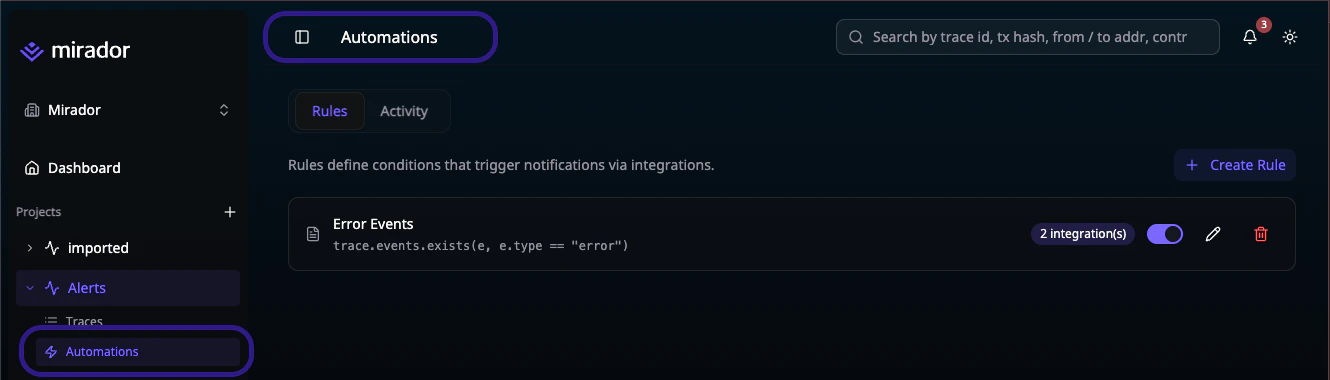
Navigating Automations
Automations live under your project’s sidebar atAutomations. The page has two tabs:
- Rules — create, edit, enable/disable, and delete rules
- Activity — live stream of rule matches with links to the triggering traces
Next Steps
Integrations
Connect Slack, Webhooks, or Email
Rules
Define conditions and link integrations
Activity
Monitor rule matches in real time